
Will a Wall-Mounted Pot Rack Fit Your Small Kitchen? Measuring Ceiling Studs, Hanging Clearance, and Cabinet Swing
Will a Wall-Mounted Pot Rack Fit Your Small Kitchen? Measuring Ceiling Studs, Hanging Clearance, and Cabinet Swing
If you love to cook, your kitchen is likely the heart of your home. However, if your culinary passion has outgrown your physical cooking space, finding a home for bulky cast-iron skillets, copper sauté pans, and large stockpots can become a daily logistical puzzle. When lower cabinets are stuffed to maximum capacity and upper shelves groan under the weight of lids and bakeware, looking upward is one of the smartest strategies for reclaiming square footage. Installing an overhead or wall-mounted cookware holder is a time-tested design trick used by professional chefs and interior designers alike. But before you purchase a gleaming brass, matte black, or stainless steel fixture, a critical question remains: will a hanging pot rack actually fit in your small kitchen without creating a functional hazard?
Fitting a pot rack into a compact kitchen is not simply a matter of finding an empty patch of wall or ceiling space. It requires precision planning, meticulous dimensional mapping, and a thorough understanding of human ergonomics. From evaluating structural integrity by locating ceiling studs to calculating precise vertical clearance, avoiding frustrating cabinet door collisions, and checking overhead weight capacity, every single inch matters. In this comprehensive guide, we will walk you through the entire process of evaluating your space, executing the correct pot rack clearance measurement, and ensuring your new kitchen storage solution is both stunning and safe.

The Realities of Small Kitchen Storage: Why Go Vertical?
Small kitchens present unique storage challenges. Standard cabinet layouts often waste valuable vertical space, leaving deep gaps between stacked items or awkward corners that are difficult to reach. When you rely solely on floor cabinets, you sacrifice precious food prep areas and workspace just to store your pots and pans. This is where mastering your kitchen space optimization changes everything.
Going vertical with a pot rack clears out crowded lower cabinets, protects your non-stick and enameled cookware from scratching against each other in cramped stacks, and puts your most frequently used tools right at your fingertips. Whether you are wondering will a hanging pot rack fit in a small kitchen or trying to figure out how to mount a rack securely to a tight wall, the secret lies in proper mathematical planning before you pick up a drill.
Step 1: Assessing Structural Integrity and Finding Support
Before you even begin thinking about how high your pans will hang or how far your cabinet doors swing, you must determine if your walls or ceiling can actually support the heavy load of commercial-grade cookware. Fully loaded cast-iron skillets, Dutch ovens, and stainless steel pots can easily weigh between 40 to 100 pounds combined, depending on the material and quantity.
How to Measure and Locate Ceiling Studs or Wall Framing
Never hang a heavy cookware holder directly from standard drywall or lath-and-plaster without anchoring into structural framing. Drywall alone will inevitably fail under sustained, dynamic weight, leading to dangerous structural collapses.
- Use an Electronic Stud Finder: Sweep a reliable electronic stud finder across your ceiling or wall to locate the center points of the wooden framing members (joists or studs). Standard residential construction typically spaces studs and joists 16 inches or 24 inches apart on center.
- Verify with Test Probing: If your stud finder gives inconsistent readings due to textured ceilings or thick plaster, use a small finish nail to probe gently for the wood edge before drilling your final mounting holes.
- Check Joist Orientation: For ceiling installations, make sure your hanging hooks or bars align directly perpendicular to the ceiling joists to maximize holding power. If your chosen rack's mounting brackets do not match standard joist spacing, you may need to install a wooden header board securely anchored across two joists first.
Step 2: Mastering the Pot Rack Clearance Measurement
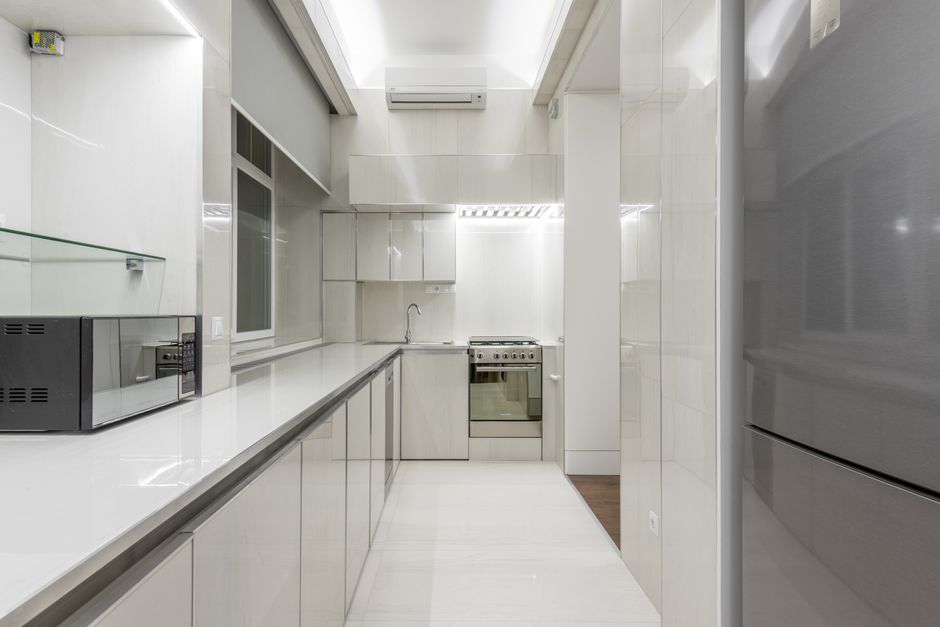
The single most common mistake homeowners make when installing overhead or wall-mounted storage is failing to account for human ergonomics and movement. If a hanging rack sits too low, tall family members or guests might bump their heads. If it sits too high, retrieving a pan requires a dangerous step stool or stretching session.
Achieving the ideal kitchen pot rack height and clearance guide standard involves measuring both your physical environment and your body's reach.
Calculating Overhead Vertical Clearance
To determine the correct vertical drop for a ceiling-mounted or wall-mounted fixture, use this simple formula:
Total Ceiling Height (Floor to Ceiling) - Height of Tallest Household Member - Average Arm Reach Offset = Optimal Hanging Height
- Standard Ceiling Height (8 Feet / 96 inches): In a standard kitchen with an 8-foot ceiling, ceiling-mounted racks can sometimes feel cramped. Ensure the bottom of the suspended pans hangs at least 6.5 to 7 feet (78 to 84 inches) above the finished floor level to maintain safe walking clearance below.
- High Ceilings (9 to 10 Feet): These spaces are ideal for hanging racks. You will need to use longer extension chains or rods to bring the hanging rack down to an accessible height, typically around 66 to 72 inches from the floor.
- Wall-Mounted Spacing Above Counters: If you are installing a wall rack above a countertop, stove, or prep station, leave a minimum of 18 to 24 inches of vertical clearance between the counter surface and the bottom rim of the rack so you can still use the counter freely.
Step 3: Preventing Cabinet Door Collisions and Swing Interference
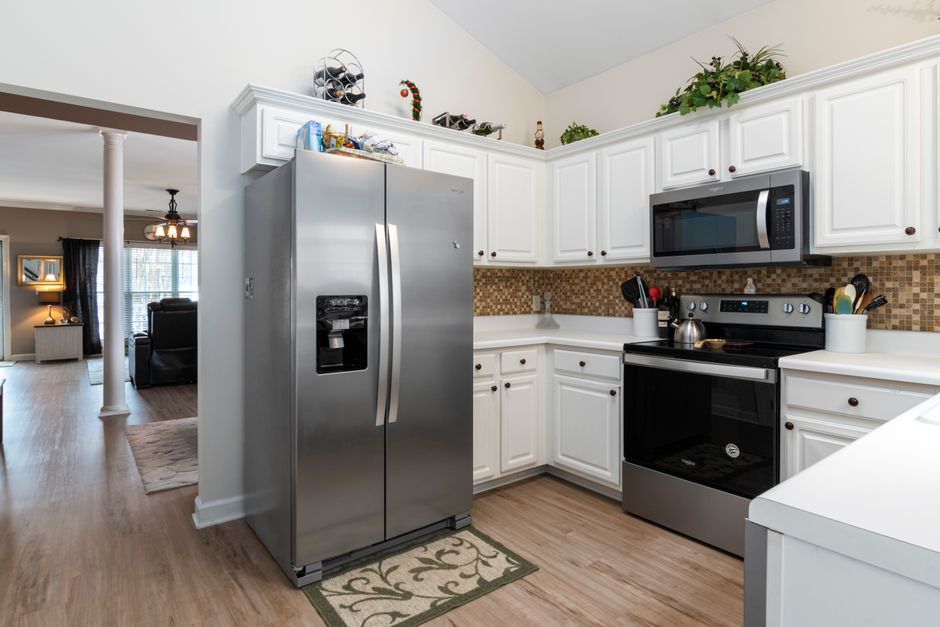
In a small kitchen, layouts are often compact, meaning cabinets, appliances, and walls sit in close proximity to one another. One of the most frustrating installation errors is mounting a pot rack so close to a pantry or upper cabinet that the doors can no longer open fully.
Before anchoring your hardware, perform a complete spatial check of your surrounding cabinetry.
How to Check Cabinet Door Swing with a Pot Rack
- Measure the Door Swing Arc: Open your upper cabinet doors and refrigerator doors completely. Measure the maximum radius of the door swing from its hinge pivot point.
- Map the Projection Zone: Mark this exact swing arc on your wall or ceiling using blue painter's tape. Your pot rack, including the protruding handles of your pans, must remain entirely outside this arc.
- Account for Pan Handle Length: Remember that pans do not hang flat against the wall or ceiling; handles protrude outward. A 10-inch skillet hanging on a wall rack can easily project 12 to 14 inches outward into the room. Make sure this protrusion does not clip passing cabinet doors, microwave doors, or drawers.
Step 4: Step-by-Step Guide to Measuring Small Kitchen Space
To ensure absolute precision, follow this methodical step-by-step measurement checklist before purchasing or installing your new cookware holder.
- Step 1: Inventory Your Cookware: Count your pots, pans, lids, and utensils. Measure the diameter of your largest skillet and the height of your tallest stockpot with its lid on. This dictates the minimum dimensions of the rack itself.
- Step 2: Map the Traffic Flow: Observe how people move through your kitchen. Do not place a hanging rack directly in a high-traffic bottleneck between the refrigerator, sink, and stove where people constantly brush past.
- Step 3: Measure Ceiling and Wall Boundaries: Note electrical outlets, light fixtures, smoke detectors, and window trim. Your kitchen storage measurement guide should ensure at least a 6-inch buffer between the pot rack and any existing light fixtures or ceiling fans.
- Step 4: Dry-Fit with Cardboard Mockups: Cut out a piece of cardboard to the exact dimensions of the pot rack you want to buy. Tape it to the wall or hang it temporarily with string from the ceiling. Live with the mockup for 48 hours to test your sightlines, head clearance, and cabinet swings.
Common Mistakes to Avoid When Installing a Pot Rack
Even seasoned DIYers can run into trouble if they overlook key installation details. Keep these common pitfalls in mind:
- Ignoring Weight Distribution: Hanging heavy pots on one side of a rack while leaving the other side empty creates torque and puts uneven strain on mounting anchors. Distribute heavy cast iron evenly across the center.
- Mounting Too High to Reach: Hanging a rack so high that you need a step stool every time you want to cook defeats the ergonomic purpose of quick-access storage.
- Forgetting About Lids: Lids add extra bulk and depth. If you hang lids alongside pans, ensure the total hanging depth does not block light from under-cabinet fixtures.
- Skipping Studs: Relying purely on plastic drywall anchors for heavy cookware is a recipe for disaster. Always anchor directly into wood studs or ceiling joists.

Frequently Asked Questions (FAQ)
1. Will a hanging pot rack make a small kitchen look cluttered?
It depends on how you organize it. While hanging cookware introduces visual texture, it actually opens up cramped lower cabinets and creates a charming, professional chef's kitchen aesthetic. Keeping your cookware clean, polished, and neatly arranged prevents the space from feeling chaotic.
2. How much weight can a standard wall-mounted pot rack hold?
Weight capacity varies widely based on the manufacturer and the quality of the installation. Most sturdy steel or wrought-iron racks can support between 40 and 100 pounds, provided they are screwed directly into wall studs using heavy-duty lag bolts.
3. What is the ideal height to hang a pot rack above an island or walkway?
For safety and comfortable movement, the bottom of the hanging cookware should be at least 7 feet (84 inches) above the finished floor level, ensuring that household members and guests can walk underneath without ducking or bumping their heads.
4. How do I prevent cabinet doors from hitting my wall-mounted pot rack?
Measure the maximum swing arc of your cabinet doors before installation. Ensure your pot rack and the protruding handles of your pans are mounted completely outside this radius to guarantee unhindered door movement.
5. Can I install a pot rack on plaster or drywall without finding a stud?
It is strongly discouraged for heavy cookware. Standard drywall and plaster lack the structural density to hold heavy, swinging loads over time. Always anchor your mounting brackets directly into wooden ceiling joists or wall studs.
6. How do I calculate the right size pot rack for my kitchen?
Start by laying out your most-used pots and pans on a flat surface in the exact configuration you want to hang them. Measure the total length and width of this arrangement, and choose a rack that matches or slightly exceeds those dimensions while fitting comfortably within your wall or ceiling space.
Related FitMySpace Tools
Planning your kitchen layout, furniture placement, and appliance clearance is easier when you use precise digital tools. Explore these related calculators on FitMySpace to optimize every square inch of your home:
- Washing Machine Door Fit Calculator
- Usable Floor Space Calculator
- Furniture Space Occupancy Calculator
Conclusion
Installing a wall-mounted or ceiling-hung pot rack in a small kitchen is a fantastic way to maximize vertical storage, free up crowded lower cabinets, and bring professional style into your cooking space. However, success depends entirely on careful preparation. By accurately measuring your ceiling studs, calculating safe vertical clearance, mapping cabinet door swings, and respecting weight capacity limits, you can transform your compact kitchen into an efficient, safe, and gorgeous culinary workspace. Take your measurements twice, test your layout with a cardboard mockup, and enjoy your newly optimized kitchen.
💬 Comments & Questions
Post a Comment