
Will a Pet Door Fit Your Exterior Door? Measuring Glass Panels, Panel Width, and Step-Over Height
For pet owners, granting dogs and cats the freedom to roam between the indoor comfort of the home and the great outdoors is a game-changer. No more interrupted meetings, early morning wake-up calls in the dark, or scratched-up wooden frames. However, before you pull the trigger on ordering a shiny new pet entrance, a lingering question haunts every DIY home improver: will a pet door fit your exterior door?
The short answer is: almost always, yes—provided you take precise dimensions, respect your door's structural integrity, and choose a model engineered for your specific entryway style. Exterior entryways are rarely uniform blocks of solid material. They come in varying thicknesses, feature glass panels, utilize hollow or solid-core construction, and possess unique architectural moldings. This comprehensive guide will walk you through everything you need to know about how to measure exterior door for pet door installations, covering panel width, frame depths, glass inserts, and proper pet door step over height guidelines.

Understanding Your Exterior Door Anatomy
Before pulling out the metal tape measure, you must understand what lies beneath your exterior door's surface. Not all entry points are created equal. Knowing your door material and internal build style dictates which type of pet door you can safely install and what hardware you will need.
Solid Wood and Solid-Core Doors
Traditional wood, engineered wood, and solid-core composite doors are the absolute easiest surfaces for adding a pet entrance. When people ask will a dog door fit a standard exterior door, they are usually envisioning a solid wood panel door. These doors can be cut freely with a jigsaw, and their structural strength remains intact as long as you do not cut into the outer stiles and rails that frame the perimeter.
Hollow-Core Doors
Hollow-core doors are lightweight, budget-friendly, and frequently found on interior entry points or occasionally on low-traffic utility exits. They are constructed with a thin veneer skin over an internal cardboard honeycomb structure. Installing a pet flap directly into a hollow-core door requires a specialized internal framing kit to seal the exposed hollow cavity and restore rigidity. It is rarely recommended for exterior environments due to poor weather resistance and security concerns.
Metal and Fiberglass Doors
Steel-skinned and fiberglass entryways are extremely common for modern homes due to their energy efficiency and security. When measuring metal door for pet entrance configurations, you must note that the interior is typically filled with high-density polyurethane foam. Cutting through the steel skin requires a metal-cutting jigsaw blade, and you must use a specialized tunneling frame to bridge the gap between the inner and outer metal skins, preventing thermal bridging and moisture penetration.
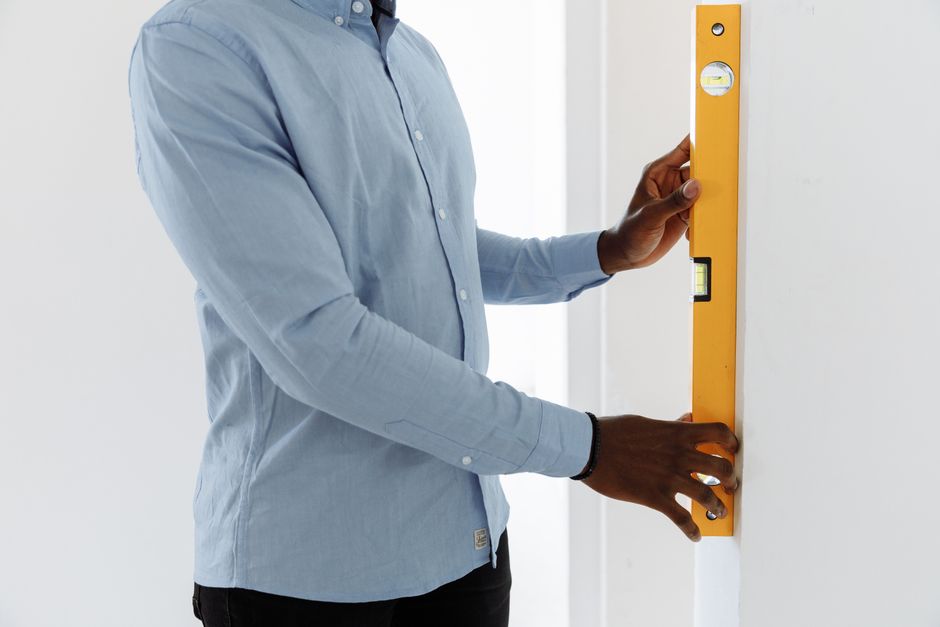
Step-by-Step Measurement Guide
Accurate measurement is the single most critical factor in ensuring your pet flap operates smoothly, seals tightly against weather elements, and looks professionally installed. Let's break down the essential measurements you need to take.
1. Measuring Door Thickness for the Pet Flap
Exterior doors vary wildly in thickness. Standard residential doors are typically 1 ¾ inches thick, but heavy-duty insulated variants, security upgrades, or custom historic wood doors can range anywhere from 1 ⅜ inches to over 2 ½ inches thick.
How to measure: Open your door and place the end of your tape measure flat against the interior face, extending it straight across to the exterior face. Ensure you avoid any decorative raised moldings or recessed panel grooves when taking this baseline depth.
Why it matters: Pet door frames come with telescoping tunnels designed to span specific thickness ranges. If your door is thicker than the pet door's maximum adjustment range, you will need custom extension tunnels; if it is too thin, the frame will wobble and fail to clamp down securely.
2. Measuring Panel Width and Stile Clearance
One of the most frequent errors homeowners make is centering the dog door unit without checking the surrounding structural frame of the door itself. Every door features vertical structural members on the sides called stiles, and horizontal members at the top and bottom called rails.
Measuring panel width for pet door: Measure the total horizontal width of the door panel. Then, subtract the width of the pet door's outer frame (not just the flap opening). Ensure that when you center the template, you leave at least 2 to 3 inches of solid door material on both the left and right sides. Cutting into the vertical stiles compromises the structural integrity of the entire door.
3. Determining Step-Over Height and Pet Clearance
The pet door step over height guidelines dictate how high your companion must lift their paws to clear the bottom threshold of the pet entrance. Getting this wrong can result in joint strain for senior animals or refusal to use the flap entirely.
The Golden Rule: Measure your pet's chest height from the floor up to the lowest point of their brisket (the shoulder blades/chest floor) while they are standing naturally. The bottom threshold (step-over height) of the pet door should ideally be set roughly 1 to 2 inches below this measurement, allowing them to step through effortlessly without ducking or jumping.
Cat flap size considerations: For felines, a step-over height of 3 to 6 inches from the floor is standard. For large dog breeds, this might increase to 8 to 12 inches, depending on their leg length.

Deep-Dive Formulas and Practical Calculation Examples
To ensure your installation goes smoothly without unexpected clearance issues, applying clear formulas can eliminate guesswork. Below are practical mathematical approaches to sizing and positioning your pet door accurately.
Calculating Center Alignment and Horizontal Margin
When positioning your pet door template on a door panel, you must verify that the remaining solid material on either side matches or exceeds structural safety margins. Use the following formula:
Available Margin per Side ($M$) = $\frac{\text{Total Door Width } (W) - \text{Pet Door Frame Width } (F)}{2}$
For example, if your standard exterior door width ($W$) is 36 inches and your chosen pet door frame width ($F$) is 14 inches:
$M = \frac{36 - 14}{2} = \frac{22}{2} = 11\text{ inches}$
An 11-inch margin on both the left and right sides easily clears the recommended 2 to 3-inch minimum stile clearance, meaning the door's structural framing remains completely safe and uncompromised.
Calculating Vertical Step-Over Placement
To establish the exact distance from the bottom of your door to the lower edge of the cutout template, use your pet's measured brisket height ($B$) and subtract your desired clearance buffer ($C$), which is typically between 1 and 2 inches:
Cutout Bottom Edge Height ($H$) = $B - C$
Suppose your medium-sized dog has a brisket height ($B$) of 16 inches from the floor. Subtracting a 1.5-inch comfort buffer ($C$):
$H = 16 - 1.5 = 14.5\text{ inches}$
Therefore, the bottom edge of your pet door cutout template should be drawn exactly 14.5 inches up from the bottom surface of the door.
Detailed Step-by-Step Installation Workflow
Once you have confirmed that your pet door will fit your exterior door and completed all mathematical checks, you can proceed with confidence. Follow this structured step-by-step workflow for a clean, weather-tight installation.
- Prepare the Workspace: Remove the exterior door from its hinges and lay it flat across two sturdy sawhorses. Remove all handles, deadbolts, and hardware to give yourself an entirely flat work surface.
- Attach the Template: Tape the manufacturer-provided cardboard cutting template to the interior face of the door, aligning your calculated vertical step-over height and ensuring absolute horizontal centering.
- Drill Pilot Holes: Use a power drill with a 3/8-inch wood or metal drill bit to drill holes through the four inside corners of the traced template line. These holes provide clearance for your jigsaw blade to enter the material cleanly.
- Cut the Opening: Insert your jigsaw blade (equipped with a fine-toothed wood blade or bi-metal metal blade depending on your door skin) into one of the corner pilot holes. Saw carefully along the interior edge of your traced line, supporting the cutout piece from underneath so it does not tear away prematurely and splinter the exterior finish.
- Seal Exposed Edges: If working with a wood or composite door, apply a coat of exterior primer or polyurethane sealant to the raw exposed interior edges of the cut. This prevents moisture absorption, warping, and rotting over time.
- Fit and Secure the Frames: Test-fit the interior and exterior frames through the newly created tunnel. Adjust any telescoping sleeves, apply a continuous bead of exterior-grade silicone caulk around the perimeter flange to block drafts, and drive the fastening screws in evenly to clamp the unit securely in place.
Tackling Complex Installations: Glass Panels and Sliding Inserts
Many modern exterior doors feature large glass lites or half-lite designs. If you are wondering about measuring glass panel for dog door setups, the approach changes completely. You cannot simply cut a hole through insulated double-pane or tempered safety glass with a jigsaw.
Replacing Glass vs. Sliding Inserts
If your exterior door is mostly glass, you have two primary paths:
- Custom Glass Replacement: You must contact a local glazier to manufacture a brand-new dual-pane insulated glass unit (IGU) with a factory-cut circular or rectangular hole built directly into the glass. This is expensive and requires precise factory dimensions.
- Sliding Glass Pet Door Inserts: If your exit point is a patio slider rather than a hinged door, sliding glass pet door insert measurements are required. You must measure the exact track height from the inside upper track channel to the floor surface, accounting for spring-loaded adjustment ranges to guarantee a weather-tight fit.

Common Mistakes to Avoid
Even seasoned DIYers can stumble when fitting a pet entrance. Keep these pitfalls in mind before you start cutting:
- Ignoring Weatherstripping and Threshold Clearance: Make sure the bottom of the pet door frame does not interfere with the door's existing weather threshold sweep when the door swings shut.
- Measuring While the Pet is Growing: If you have a puppy, consult breed weight and height charts to anticipate their adult size before cutting a hole suited only for their current small stature.
- Neglecting Exterior Drainage: Ensure the exterior landing outside the door does not pool water right up against the bottom of the pet flap, which can lead to indoor water leaks during heavy storms.
- Forgetting Lock Clearance: Double-check that the pet door frame does not interfere with deadbolts, smart locks, or handle sets on the door edge.
- Overtightening Frame Screws: Driving mounting screws down with excessive torque can warp plastic telescoping frames, causing the magnetic flap to misalign and fail to seal properly against drafts.
Frequently Asked Questions
1. Can I install a pet door in a metal exterior door myself?
Yes, but you will need specialized metal-cutting blades for your jigsaw, a steady hand, and a tunneling frame designed to cap the exposed foam core. Always wear eye protection and heavy work gloves when cutting through steel skins.
2. How do I calculate the correct flap width for my dog?
Measure your dog at their widest point (usually across the shoulders or chest) while they stand. Add at least 2 inches to this width measurement to ensure they can pass through comfortably without scraping their sides against the rigid frame.
3. What happens if my door is thicker than the pet door frame?
Most reputable pet door manufacturers sell modular extension tunnels or wall-installation kits. These bridge the gap cleanly so you can maintain a sealed, insulated barrier even on heavy, custom-built thick entryways.
4. Are sliding glass door pet inserts secure?
Yes, most patio panel inserts come with secondary locking mechanisms or draft stoppers. However, because they keep the sliding glass panel partially open, you may need to install a Charlie bar or secondary security lock on the sliding track.
5. How do I prevent drafts around the pet door frame?
Choose a multi-flap magnetic weather-resistant pet door model. During installation, apply a generous bead of exterior-grade silicone caulk around the perimeter of the cutout before screwing the interior and exterior frames together to create an airtight seal.
6. Can cats use standard small dog doors?
Cats can use small dog doors, but felines generally prefer lighter, highly flexible flaps that do not require heavy pushing force. Heavy-duty magnetic flaps meant for robust dogs might frustrate or deter a cat.
7. What is the best way to train my pet to use a new door?
Prop the flap open using tape during the first few days so your pet can see right through to the other side. Guide them through gently with high-value treats and vocal praise, gradually lowering the flap until they push through independently.
Related FitMySpace Tools
Planning a major home layout update or bringing bulky items through your newly modified entryways? Check out these helpful calculators:
- Will a Sofa Fit Through My Door?
- Furniture Through Doorway Calculator
- Will a Refrigerator Fit Through the Door?
Conclusion
Installing a pet entrance is one of the most rewarding DIY projects you can undertake for both your own daily convenience and your pet's happiness. By taking accurate measurements of your door thickness, panel width, and the correct step-over height, you can determine with complete confidence whether a pet door will fit your exterior door. Take your time, double-check every dimension before making the first cut, and enjoy a seamless transition to outdoor freedom for your furry family members.
💬 Comments & Questions
Post a Comment