
Will Baseboard Heating Covers Fit Your Wall? Measuring Clearance, Valves, and Furniture Gaps
Old, dented, or yellowed baseboard heaters can drag down the aesthetic of an otherwise beautifully designed room. Upgrading to modern decorative baseboard covers is one of the most cost-effective ways to instantly refresh a space, whether you are staging a home for sale or simply looking to elevate your interior design. However, before you click "buy" on a sleek new set of heater covers, you need to answer a critical question: Will new baseboard covers fit my wall?
Unlike standard furniture that can be shifted a few inches to the left or right, hydronic (hot water) or electric baseboard heaters are hardwired into your home’s infrastructure. They interact directly with baseboards, flooring, drywall, protruding valves, and nearby furniture. Getting a clean, professional finish requires precise baseboard heating covers measurement. If you misjudge the depth by a quarter-inch, or forget to account for a protruding end cap valve, your new covers simply will not snap or slide into place.
This comprehensive guide will walk you through everything you need to know about how to measure for baseboard heater covers. From calculating total wall length to accounting for floor clearance, valves, and furniture gaps, we will help you make sure your renovation project goes off without a hitch.
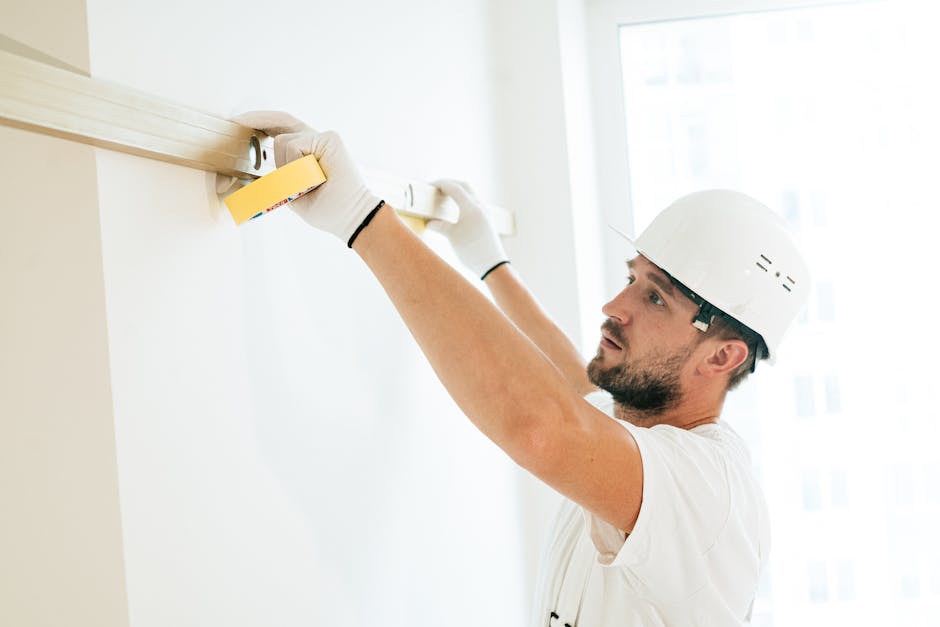
Why Accurate Baseboard Heating Covers Measurement Matters
When undertaking home improvements, it is tempting to eyeball measurements or rely on rough estimates. When it comes to baseboard covers, however, guessing is a recipe for wasted money and frustration. Modern decorative covers are manufactured to exact dimensional tolerances. If your measurements are off, you may encounter several common installation roadblocks:
- Interference with Valvular Hardware: Hot water baseboard heaters typically feature copper pipes, fins, and a control knob or bleeder valve at one or both ends. If your cover is too shallow or too short, it will hit these components.
- Floor and Carpet Friction: If you fail to check floor clearance for baseboard heater covers, your new enclosure might drag on high-pile carpeting or prevent interior doors from swinging open fully.
- Wall Distortion Gaps: Walls are rarely perfectly straight. Failing to account for bowed drywall can leave unsightly gaps between your wall heating enclosures and the baseboard trim.
- Restricted Airflow: Heating efficiency relies on the "chimney effect"—cool air enters from the bottom, rises through the heated fins, and exits warm from the top. Buying an ill-fitting cover that blocks these pathways will reduce heating performance.
Before gathering your tools, let’s look at the specific dimensions you need to record. Successful measuring for baseboard heater covers requires tracking five critical metrics: length, height, depth, floor clearance, and accessory clearance (end caps and corners).
Step 1: Measuring Total Wall Length and Linear Runs
The first step in measuring wall space for baseboard radiator covers is determining the total linear footage of the heater unit. Do not just measure the old metal cover; you must measure the entire assembly from edge to edge, including the end caps where the pipes disappear into the wall or floor.
Grab a reliable metal tape measure and follow these guidelines:
- Measure from End to End: Extend your tape measure from the outermost left edge of the heater housing to the outermost right edge. Write down this exact dimension in inches.
- Account for End Caps: Many replacement covers are sold in standard stock lengths (such as 2 feet, 3 feet, or 4 feet) with customizable snap-on end caps. Make sure you measure whether your total run requires custom cutting or if modular extensions can bridge the gap.
- Check for Corner Units: If your baseboard heater wraps around an internal or external corner, you will need specialized corner pieces. Do not measure straight through the corner; measure each wall segment independently up to the vertex point, noting the specific angle (usually 90 degrees, though older homes can vary).
When calculating total materials, it is always wise to use architectural planning aids. If you are also mapping out overall room dimensions or floor layouts, checking resources like a Usable Floor Space Calculator can help you visualize how the new heating enclosures will sit relative to your room's walkways and features.

Step 2: Evaluating Depth and Height Spacing
Perhaps the most frequent mistake homeowners make is buying a cover that matches the length of their old unit while ignoring depth and height. Baseboard heater cover depth and height spacing is vital because modern slip-on covers must slide directly over your existing backplate or mount securely to the wall studs behind the unit.
To check these dimensions accurately:
- Depth: Measure from the finished wall surface outward to the furthest point of the heating element fins or enclosure front. Make sure to check if your heating elements bend or sag forward; the new cover must provide enough internal clearance so the sharp aluminum fins do not scrape against the front grille.
- Height: Measure from the top of the flooring up to the very top edge of the existing heater enclosure. Also measure the distance from the floor to the top of the actual metal backplate, as many decorative covers mount directly to this existing backplate structure.
- Backplate Compatibility: If you are buying a universal slip-on cover, check whether it requires you to remove your old housing entirely or if it slides directly over your existing backplate. If it slides over, the inner dimensions of the new cover must be slightly larger than the outer dimensions of your old setup.
Step 3: Checking Floor Clearance and Wall Gaps
Air circulation is the lifeblood of hydronic and electric wall heating systems. If your flooring has changed since the house was originally built—for instance, if you replaced thin linoleum with thick hardwood and plush area rugs—your available floor clearance may have shrunk dramatically.
When checking floor clearance for baseboard heater covers, keep these rules of thumb in mind:
- The Bottom Gap: Most standard baseboard covers require at least 3/4 inch to 1.5 inches of clearance between the bottom of the front panel and the finished floor. This intake gap allows cool air from the room to enter the bottom of the heater.
- Carpet Considerations: If you have thick carpeting, compress the carpet with your fingers or a ruler to find the absolute lowest surface level. Ensure the bottom of the new cover will not pinch the carpet fibers or cut off airflow completely.
- Uneven Floors: Older homes often feature settling foundations, causing floors to slope. Use a small spirit level along the base of the wall to see if one end of the heater sits lower than the other. If your floor slopes significantly, you may need shims or adjustable baseboard cover legs to keep the installation level.
Pro Tip: Measuring Old Baseboard Covers for Replacement
If you are replacing vintage, rusted covers, do not assume manufacturers use standardized sizing across decades. A "standard 6-foot heater" from the 1970s might actually measure 74 inches once you account for proprietary end caps. Always measure the physical hardware currently on your wall rather than relying on nominal building blueprint numbers.
Step 4: Factoring in Valves, Pipes, and Thermostat Access
One of the trickiest parts of measuring valve and pipe clearance for baseboard covers is dealing with plumbing protrusions. Hot water baseboard heaters feature incoming and outgoing copper lines, elbows, and control knobs that protrude past the main body of the heater.
Take time to inspect the extremities of each heating run:
- Bleeder Valves and Dampers: Do you have a manual air vent or damper control knob located on the side or top of the heater? Your new cover must either feature cutouts for these controls or provide enough room so the enclosure doesn't obstruct access.
- Pipe Penetration Points: Where do the pipes enter the wall or floor? Measure the distance from the finished wall to the center of the vertical pipe. Ensure the knockouts or side panels of your new cover align with these exact coordinates.
- Thermostat Placement: If an integrated or wall-mounted thermostat is located dangerously close to the heating enclosure, ensure your new decorative cover does not trap excess radiant heat right beneath the sensor, which can cause your heating system to short-cycle.

Step 5: Safe Furniture and Fixture Clearance Gaps
Many homeowners install decorative covers because they want to place furniture closer to the wall without blocking heat. However, safety and efficiency demand proper spacing. Knowing how to measure furniture clearance from baseboard heaters prevents heat damage to wooden couches, media centers, and textiles.
When planning your room layout around new baseboard enclosures, apply these clearance standards:
- Sofa and Chair Spacing: Keep upholstered furniture at least 4 to 6 inches away from the front face of the baseboard heater cover. If a piece of furniture sits flush against the heater, it blocks airflow, diminishes room warmth, and can warp wooden legs or dry out fabrics.
- Curtain and Drapery Management: Ensure floor-length drapes do not drape over the top or front of the baseboard covers. Curtains touching active heating units present a severe fire hazard and trap heat against the wall. Measure your window drop so drapes terminate at least 2 inches above the top of the cover.
- Built-In Millwork and Cabinets: If you are running baseboard covers right up to custom shelving or a desk, measure the side clearance carefully. Many slide-on covers require an extra 1/8 to 1/4 inch of sliding clearance on each side during installation; you cannot squeeze a cover into a tight alcove if there is zero lateral wiggle room.
Common Measuring Mistakes to Avoid
Even with the best tape measure in hand, DIYers frequently fall into a few common traps. Keep these pitfalls in mind to ensure your project is successful on the first try:
- Forgetting to Measure Twice: Wood expands, metal contracts, and walls are rarely square. Always take at least two measurements for every span (one at top, one at bottom) and use the most restrictive dimension.
- Ignoring Paint Build-Up: In older homes, layers of thick latex paint can add up to 1/16 of an inch of thickness around heater brackets. If your measurements are razor-thin, this extra paint can prevent snap-on parts from locking.
- Misidentifying Heating Type: Electric baseboard heaters operate differently and have different clearance requirements than hydronic (hot water) pipes. Never install a cover designed strictly for electric baseboards over pressurized water pipes without verifying internal clearances.
- Neglecting Thermal Expansion: When hot water flows through copper pipes, the metal expands slightly. Make sure your covers do not bind tightly against rigid copper lines, which can lead to annoying clicking or ticking noises as the system heats up and cools down.

Summary Checklist for Your Measuring Project
Before you order your new decorative baseboard covers, verify that you have checked every item on this master checklist:
- [ ] Total linear wall length recorded from end cap to end cap.
- [ ] Depth measured from the finished wall to the outermost heating fin.
- [ ] Height measured from floor to top of housing and backplate.
- [ ] Floor clearance verified (allowing for carpets or thick flooring).
- [ ] Valve, knob, and pipe protrusion points mapped out.
- [ ] Corner angles and end cap requirements noted.
- [ ] Furniture and drapery gaps evaluated for safe airflow.
Taking accurate measurements ensures that your new heating enclosures snap into place effortlessly, delivering a clean, architectural finish that elevates your entire home.
Related FitMySpace Tools
Planning a room remodel or re-evaluating your furniture layout? Explore these helpful online calculators to make your project planning effortless:
- Usable Floor Space Calculator – Calculate exact open floor areas around your furniture and heating units.
- Wall Area Calculator – Determine precise wall square footage for painting, wallpapering, or trim installation.
- Wallpaper Roll Calculator – Easily figure out how many rolls of wallpaper you need for feature walls behind your upgraded baseboards.
Frequently Asked Questions
1. Can I install new baseboard covers over my old backplates?
Many modern decorative baseboard covers are designed as "slip-on" units that mount directly over existing metal backplates, saving you the hassle of tearing out old housing. However, you must measure the depth and height of your current backplate to ensure the new cover's inner dimensions are compatible.
2. How much floor clearance do baseboard heater covers need?
Most standard covers require a minimum of 3/4 inch to 1.5 inches of clearance between the bottom of the front panel and the finished floor. This gap is essential for drawing in cool room air to maintain efficient convective heating.
3. What should I do if my baseboard heater run is an unusual length?
If your heating run does not match standard stock sizes (e.g., 36 inches or 48 inches), you can purchase modular covers that can be cut down to size using a standard hacksaw or tin snips, paired with adjustable end caps to bridge any small gaps.
4. Will decorative baseboard covers reduce my heating efficiency?
High-quality steel or aluminum decorative covers designed with proper bottom intake and top exhaust vent slots will not negatively impact heating efficiency. In fact, clean metal surfaces often radiate heat more effectively than rusted, dented old enclosures.
5. How do I measure for inside and outside corners?
Measure each wall segment independently starting from the corner vertex out to the end of the run. When ordering corner pieces, specify whether the angle is standard 90 degrees or a custom obtuse/acute angle to ensure a seamless joint.
6. Can I place furniture right in front of my baseboard heater covers?
It is best to leave at least 4 to 6 inches of clearance between the front of your baseboard heater covers and any furniture. Placing couches or wooden cabinets directly against the heater restricts airflow, reduces room warmth, and can warp furniture materials over time.
Conclusion
Upgrading your home's baseboard heating covers is a rewarding DIY project that transforms dated metal enclosures into sleek, modern architectural accents. By taking precise measurements of your wall length, depth, height, floor gaps, and valve clearances, you can avoid costly ordering mistakes and ensure a seamless installation. Armed with a reliable tape measure and a careful attention to detail, you will achieve a polished, professional look that enhances both the comfort and style of your living space.
💬 Comments & Questions
Post a Comment