
Will Wall Paneling Fit a Small Room? Measuring Thickness, Wall Scale, and Door Trim Clearance
When considering an interior upgrade, homeowners often wonder: will wall paneling fit a small room? The short answer is yes, absolutely. However, success depends entirely on precision, scale, and careful preparation. Many homeowners worry that adding decorative textures will swallow up valuable square footage or make a compact space feel claustrophobic. In reality, when you choose the right style, understand how to calculate wall paneling depth, and account for tricky structural features like measuring wall paneling around door frames, you can completely transform a tight area without sacrificing liveable space.
At FitMySpace.net, we believe that every square inch counts. Whether you are eyeing modern acoustic wood slats, classic shiplap, or traditional board and batten, introducing new materials changes your room dimensions. This comprehensive guide walks you through the exact calculation methods, strategic layout techniques, and technical clearances required to install wall paneling in a small room or narrow hallway successfully.
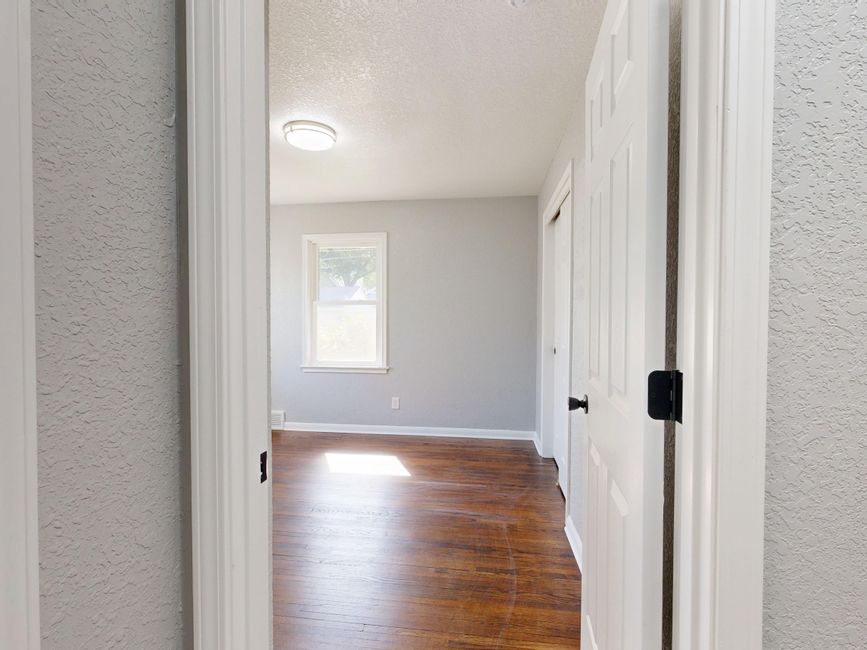
Does Wall Paneling Make a Room Look Smaller?
A common misconception is that adding wood elements automatically shrinks a room. While it is true that physical wall thickness increases, the visual impact depends more on color, orientation, and pattern scale than the material itself. A poorly chosen dark, heavy texture can close in a tight bedroom, but vertical lines can actually trick the eye into perceiving higher ceilings and a more expansive layout.
To determine if a design will work, evaluate does wall paneling make a room look smaller based on three core factors:
- Visual Direction: Vertical orientations draw the gaze upward, making low ceilings feel elevated.
- Color Palette: Light tones, soft neutrals, and painted finishes reflect ambient light, preserving an open feeling.
- Surface Coverage: Installing an accent wall rather than enveloping all four walls keeps compact spaces bright and uncluttered.
Furthermore, psychological perception plays a massive role in interior spatial design. Human eyes naturally follow lines and contrast borders. When horizontal lines dominate a low-ceilinged room, it emphasizes the low clearance. Conversely, introducing vertical grooves or battens forces the visual field upward, reducing the subconscious sensation of being enclosed. This is why narrow powder rooms and small studio apartments frequently benefit from floor-to-ceiling vertical treatments when executed in pale, reflective finishes.
Understanding Material Options and Scale for Tight Spaces
Not all wall additions are created equal. Before diving into installation, you must match your profile selection to your spatial limitations. Here is how popular styles stack up in compact environments:
1. Wood Slats and Acoustic Panels
Modern acoustic slats bring warmth and texture, but people frequently ask: will wood slats fit a small room? Because these panels often sit on a felt backing and battens, they can add anywhere from 1/2 inch to 1 inch of depth. In a narrow hallway, every millimeter matters. Choosing a slim profile and applying it to a single focal wall prevents the corridor from feeling pinched.
2. Traditional Shiplap
Famous for coastal and modern farmhouse aesthetics, shiplap boards overlap to create subtle shadow lines. If you are wondering will shiplap fit in a narrow hallway, the answer is yes, provided you account for furniture movement and baseboard transitions. Horizontal shiplap can widen a narrow space visually, though it might compress perceived height if ceilings are already low.
3. Board and Batten
This classic grid or panel design offers incredible versatility. Learning how to measure board and batten for small walls ensures your vertical batten spacing aligns harmoniously with windows, outlets, and corners without creating awkward, cramped fractions.
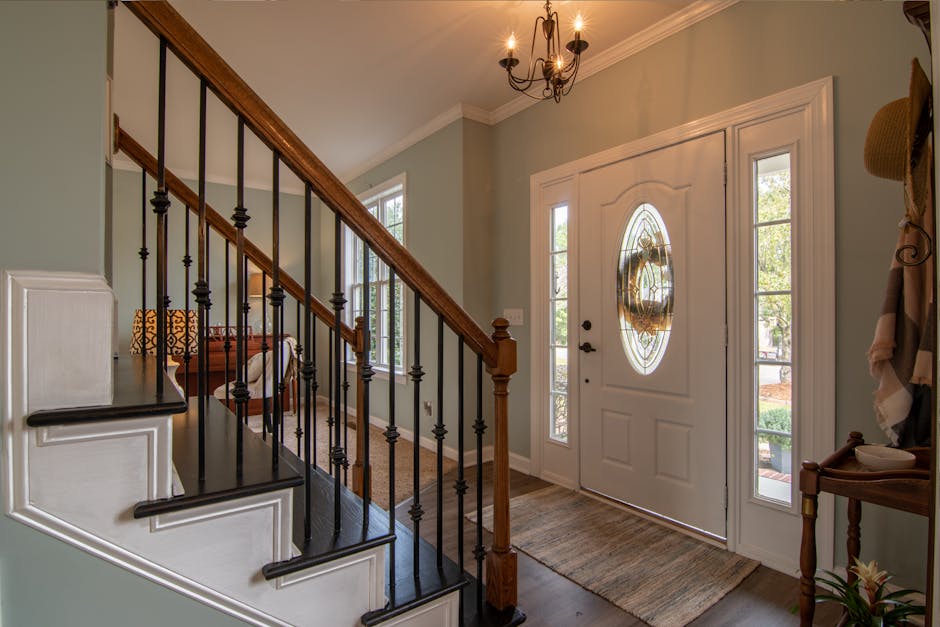
How Much Does Wall Paneling Reduce Room Size?
Mathematically speaking, adding dimensional cladding to your walls reduces the physical floor space of a room by a tiny, yet critical, fraction. If you install 3/4-inch thick boards on opposite sides of a 10-foot-wide bedroom, you decrease the total room width by 1.5 inches. While this sounds negligible, it can wreak havoc on built-in furniture, doorways, and radiator placements.
To calculate the exact spatial reduction, use this simple formula:
Total Room Width Reduction = (Thickness of Panel A + Furring Strips) + (Thickness of Panel B + Furring Strips)
When working with tight floor plans, always run your numbers through a Usable Floor Space Calculator to ensure your bed frame, sofa, or desk will still fit comfortably after installation.
Consider a real-world measuring example: Imagine outfitting a small home office measuring exactly 8 feet by 10 feet (96 inches by 120 inches). You plan to install 1/2-inch MDF panels backed by 1/4-inch furring strips on opposite walls to level out an uneven plaster surface. The combined buildup on Wall A is 3/4 inch, and on Wall B is 3/4 inch. Your new interior room width drops from 96 inches down to 94.5 inches. If your custom desktop was built to exact tight specifications of 96 inches, it will no longer slide into place without cutting down the edges. Anticipating this dimensional shrinkage before purchasing materials prevents costly carpentry failures.
Step-by-Step Guide to Measuring and Planning Your Installation
Precise measurement is the ultimate antidote to renovation disasters. Follow this step-by-step roadmap to assess your room before buying a single board.
Step 1: Calculate Total Wall Area
Before buying materials, calculate your gross wall surface area and subtract openings like windows and doors. You can streamline this process using a dedicated Wall Area Calculator. Remember to purchase a 10% waste factor for cuts and mistakes.
Step 2: Measure Wall Paneling Thickness and Depth
Understanding how to calculate wall paneling depth prevents nasty surprises. Measure the combined depth of your adhesive, furring strips (if used), and the paneling material itself. Write this total measurement down because it dictates your clearance everywhere else in the room.
Step 3: Check Door Trim and Baseboard Clearance
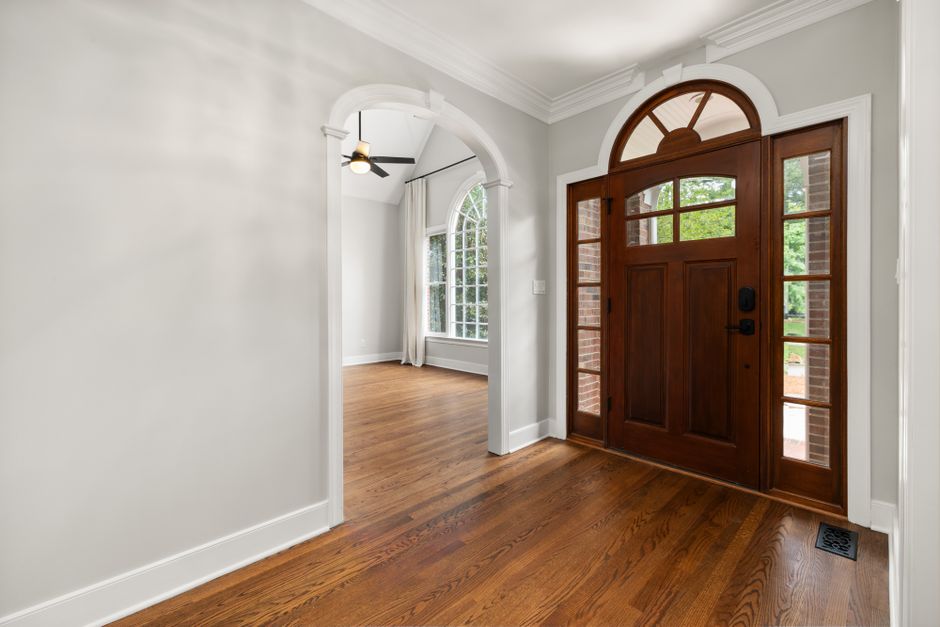
One of the most common beginner errors is ignoring existing woodwork. When your new wall cladding is thicker than your door casing or baseboards, the panels will stick out past the trim, creating an unsightly edge.
- Door Casings: Measure the thickness of your door frame trim using a caliper or tape measure. If your paneling is thicker than the trim, you must either build out the door jamb with extension jambs or choose a thinner paneling profile.
- Baseboards: When measuring baseboards for thick wall paneling, check if the baseboard sits flush with the drywall. If you are applying panels directly over drywall, your baseboards will either need to be removed and re-installed on top of the new paneling, or you will need matching quarter-round moulding to bridge the gap.
Step 4: Assess Electrical Outlets and Switch Plates
Adding thickness to a wall means electrical boxes will now sit recessed behind the new surface. Ensuring proper wall paneling clearance for electrical outlets is a critical safety and building code requirement. Never leave an outlet box recessed deep inside flammable wood without a proper box extender. Measure the exact depth of your new wall build-up and purchase electrical box extenders matching that precise millimeter measurement.
Step 5: Plan Accent Wall Paneling Spacing for Small Spaces
Symmetry is crucial in compact spaces. When planning accent wall paneling spacing for small spaces, never start your layout blindly from one corner. Measure the total width of the wall, find the exact center point, and work outward toward both corners. This guarantees that your end pieces are equal in width on the left and right sides, delivering a professional, custom-built look.
Navigating Complex Details: Doors, Corners, and Transitions
Mastering the finer details separates amateur DIY projects from high-end interior finishes. Pay special attention to these trouble spots:
Measuring Wall Paneling Around Door Frames
When your paneling meets a door frame, meticulous planning is required. If the panel lands squarely on the casing, use a fine-tooth Japanese pull saw to notch out the board so it hugs the trim profile neatly. Avoid small slivers of wood (less than 1 inch wide) adjacent to door frames; instead, adjust your starting layout so you are cutting a wider, more substantial piece.
Measuring Wall Space for Decorative Slats
When installing slatted wood panels, you must account for the gaps between the slats as well as the slat width itself. When measuring wall space for decorative slats, divide the total available wall width by the combined width of one slat plus one gap. This tells you exactly how many panels you need and prevents you from ending up half a slat short on the final edge.

Deep Dive: Practical Formulas and Precision Math for Tight Walls
When working with compact spaces, guessing dimensions leads to wasted lumber and unsightly gaps. Utilizing systematic formulas guarantees professional results on the first try. Here are three critical mathematical checks every installer should master before cutting wood.
1. Calculating Board Layout Symmetry
To prevent awkward, narrow strips of paneling at room corners, calculate your layout in advance:
Layout Formula: (Total Wall Width in Inches) / (Individual Board Width) = Total Boards Required
If your calculation results in a whole number plus a fractional remainder (e.g., 4.2 boards), do not start with a full board on the left edge. Instead, divide the fractional remainder by two (0.2 / 2 = 0.1 boards) and trim your first and last boards by that exact width. This distributes equal, professional-looking widths to both terminating corners.
2. Furring Strip Depth Integration
Uneven plaster walls in older homes often require furring strips to create a plumb mounting surface. To calculate your absolute finished wall depth, combine:
Finished Depth = Furring Thickness + Adhesive Layer + Paneling Thickness
A typical setup uses 1/4-inch furring strips, 1/16-inch construction adhesive, and 3/8-inch wood panels, totaling a 0.6875-inch (approx. 11/16 inch) overall projection from the original stud or drywall face.
Common Mistakes to Avoid
- Ignoring Door Swing Clearance: Failing to check if doors can still open fully 90 to 180 degrees once the wall profile is thicker. If a door handle hits the newly thickened wall before opening fully, you may need low-profile door stops or slimmer panels.
- Skipping Electrical Box Extenders: Leaving outlets recessed, which creates loose connections, pinched wires, and dangerous fire hazards.
- Forgetting Expansion Gaps: Wood expands and contracts naturally with seasonal humidity fluctuations; failing to leave tiny expansion gaps at floors and ceilings can cause buckling, warping, and cracked seams.
- Random Layouts: Starting installation from one corner without calculating center lines, resulting in tiny, unprofessional slivers of wood on the opposite wall.
- Overlooking Weight Loads: Heavy hardwood panels installed on weak drywall anchors in small apartments can sag over time if not secured directly into wall studs.
Related FitMySpace Tools
Make your planning phase effortless by utilizing our suite of precise online calculators:
Frequently Asked Questions (FAQ)
1. Will wall paneling make my tiny bedroom feel claustrophobic?
Not if you plan it right. Choosing vertical lines, light color palettes, or applying the material to just a single accent wall will add sophisticated texture without overwhelming the physical or visual volume of the room.
2. How do I handle electrical outlets when installing thick wood panels?
You must turn off the power at the breaker box, remove the outlet cover, and install an electrical box extender that matches the exact depth of your new wall paneling and adhesive buildup. Never leave outlets recessed behind flammable wood.
3. What should I do if my wall paneling is thicker than my door trim?
You have two choices: build out your door jambs using thin strips of wood (extension jambs) so the casing sits flush with the new wall surface, or opt for a lower-profile wall cladding option.
4. How do I calculate how much wood paneling to buy?
Measure the height and width of your walls to get total square footage, subtract doors and windows, and always add a 10% overage buffer for cuts, trimming, and potential mistakes.
5. Can I install wall paneling directly over existing drywall in a small room?
Yes, many lightweight paneling styles and slatted boards can be glued and nailed directly to drywall. However, keep in mind that this adds cumulative thickness, which may impact baseboards and door frames.
6. Is board and batten suitable for narrow hallways?
Board and batten works wonderfully in narrow hallways, especially when painted in light, reflective shades. The vertical battens help draw the eye upward, creating an illusion of higher ceilings in confined corridors.
7. How do I maintain wall paneling in high-traffic, narrow areas?
In tight hallways and entryways where bags or coats might brush against the walls, choose durable semi-gloss or satin finishes that can be easily wiped clean with a damp microfiber cloth without stripping the paint or wood grain.
Conclusion
Installing wall paneling in a small room is entirely achievable when approached with careful measurement and strategic foresight. By understanding wall thickness, calculating precise depths, accounting for door trims, and ensuring proper electrical clearances, you can elevate your interior design without sacrificing precious square footage. Take your time, double-check your numbers with our recommended tools on FitMySpace.net, and enjoy your beautifully upgraded space.
💬 Comments & Questions
Post a Comment