
Will Laminate Flooring Fit Your Small Room? Measure Expansion Gaps, Door Undercuts, and Threshold Transitions
Will Laminate Flooring Fit Your Small Room? Measure Expansion Gaps, Door Undercuts, and Threshold Transitions
When you are planning a home renovation project, upgrading to laminate flooring is one of the most effective ways to instantly modernize your interior. Homeowners frequently ask: will laminate flooring fit your small room? The short answer is yes, absolutely. Laminate provides the timeless look of hardwood at a fraction of the cost while offering superior durability against daily wear and tear. However, when working with compact spaces like small bedrooms, home offices, cozy apartments, or narrow hallways, achieving a professional finish is all about precision.
Unlike large, open-concept living spaces where minor installation errors can easily go unnoticed, small rooms magnify every single miscalculation. In a confined area, a flooring plank cut just a fraction of an inch too short will leave a gaping hole that standard baseboards cannot cover. Conversely, failing to account for material movement can cause your beautiful new floors to buckle, warp, or peak against the walls. To guarantee a flawless installation, you need to understand the nuances of laminate flooring small room measurement, factoring in perimeter expansion gaps, vertical door jamb undercuts, and seamless threshold transitions between adjoining zones.
In this comprehensive guide, we will walk you through everything you need to know about preparing, measuring, and executing a small room laminate flooring project like a seasoned professional. From calculating accurate square footage to dealing with uneven walls and tricky door clearances, this blueprint covers all the essential details.
1. The Golden Rules of Calculating Square Footage for Small Rooms
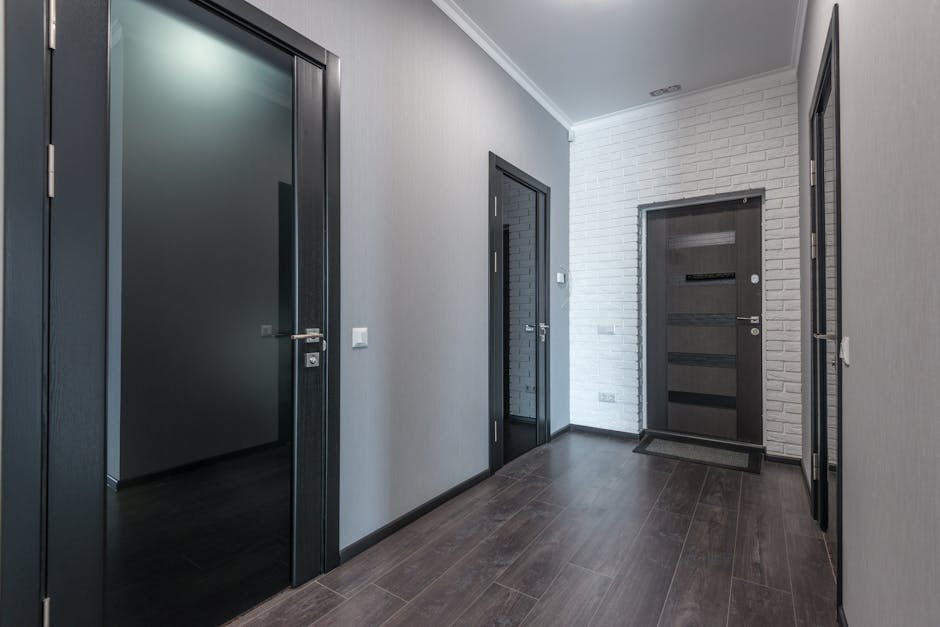
Before buying a single box of planks, you must master measuring square footage for small room laminate installations. Many DIYers make the mistake of multiplying the length by the width of the room and buying that exact amount. In reality, doing so will leave you short-handed before you finish the final row.
Small rooms often feature unconventional architectural layouts—radiator pipes, closets, alcoves, and irregular corners. To get an accurate measurement, break the room down into a series of smaller, manageable rectangles. Measure the longest length and widest width of each section, multiply them together, and add the totals up.
Accounting for Waste and Room Layout Planning
Every laminate installation requires cuts, which inherently produce waste. For standard square or rectangular rooms, industry standard dictates adding a 10% waste factor to your total square footage. However, for unusually small rooms, asymmetric layouts, or diagonal installations, you should increase this buffer to 15%.
Think about room layout planning for click lock laminate floors before you start cutting. If your small room is very narrow—such as a hallway or galley kitchen—running the planks parallel to the longest wall will visually elongate the space and minimize awkward, sliver-thin rip cuts along the side walls. Always dry-fit your first few rows to preview how the final row against the opposite wall will look. No one wants to end up with a microscopic half-inch strip of laminate hugging their baseboard.
2. Mastering the Expansion Gap Clearance Guide
One of the most critical elements of any floating floor installation is understanding that laminate flooring is a living, breathing material. Composed primarily of wood fibers, laminate expands and contracts in response to changes in indoor relative humidity and temperature. If you lock it tightly against the walls without breathing room, the panels will have nowhere to go when they swell, leading to catastrophic buckling.
A proper laminate flooring expansion gap clearance guide always emphasizes leaving a uniform gap—typically between 1/4 inch and 3/8 inch (6mm to 10mm)—around the entire perimeter of the room, including around fixed objects like pillars, staircases, and heating vents.
How to Measure Wall Irregularities and Maintain Gaps
Walls in older homes are rarely perfectly straight or square. If you simply measure from drywall to drywall, you might find that your expansion gap vanishes in the middle of a wall. To combat this:
- Use wall spacers (or plastic wedges) specifically designed for flooring installation to maintain a consistent gap from the drywall.
- Check for bowed walls using a straightedge before laying your planks.
- Measure your baseboard thickness carefully. Your perimeter expansion gap must be completely covered by either your baseboards or quarter-round molding. If your gap is 3/8 inch, ensure your baseboard trim is thick enough to overlap it adequately without leaving an unsightly shadow line.
3. Measuring Door Jamb Undercuts and Doorway Clearances
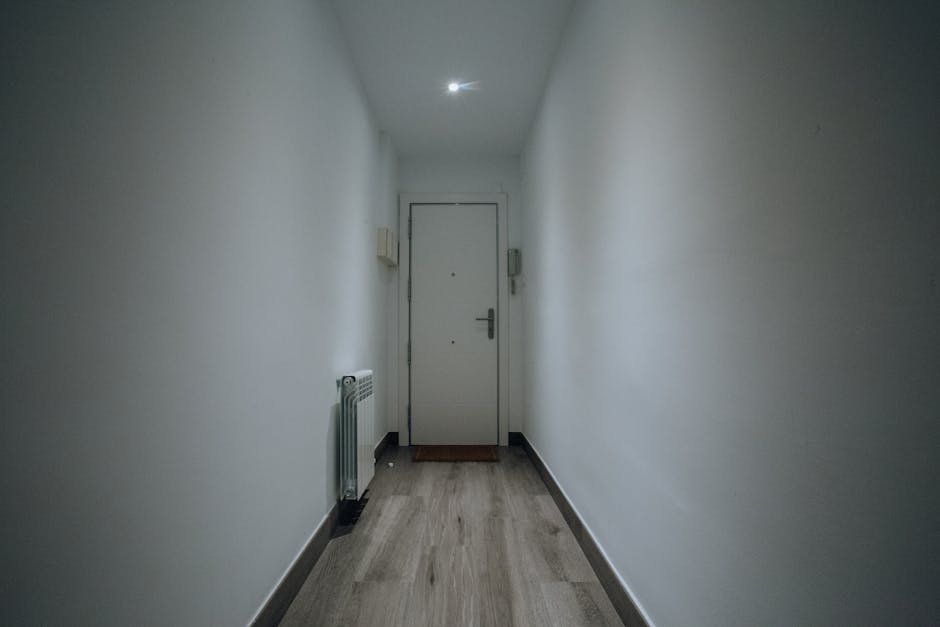
One of the hallmark signs of an amateur flooring job is seeing awkward, U-shaped cuts grooved around door frames and casing. A professional installation never forces laminate around door trim. Instead, the door jambs and casing are undercut so that the flooring slides neatly underneath them, hiding the expansion gap and delivering a clean, built-in appearance.
Step-by-Step Advice on Measuring Door Jamb Undercuts
When asking will laminate flooring fit under my doors, the answer depends entirely on your preparatory work. Here is how to measure and execute clean measuring door jamb undercuts for laminate flooring:
- Stack Your Materials: Place a sample piece of your underlayment directly on top of a sample laminate plank. This combined thickness represents the exact height your new floor will sit above the subfloor.
- Use a Scrap Piece as a Saw Guide: Hold that combined stack flat against the bottom of the door jamb or casing.
- Mark the Cut Line: Lay a fine-tooth handsaw or an oscillating multi-tool flat on top of your sample stack. Make a light pencil mark or use the saw blade resting on the stack as your precise vertical height reference.
- Make the Cut: Saw horizontally into the wooden door jamb and casing. Once the cut is complete, chisel out or pull away the scrap wood piece.
- Test the Fit: Slide your new laminate plank (with underlayment beneath it) underneath the freshly undercut jamb. You should feel a tiny bit of sliding freedom, which confirms your necessary expansion gap is preserved underneath the trim.
Don't forget to check your actual doors as well. Because laminate combined with underlayment raises the overall floor height (often by 3/8 inch to 5/8 inch), interior doors might start dragging against the new surface. Measure the clearance beneath each door before starting. If clearance is tight, you will need to remove the door and plane or trim the bottom edge accordingly.
4. Perfecting Threshold Transition Strips in Small Spaces
In compact living arrangements, rooms frequently flow directly into one another—such as a small bedroom leading into a narrow hallway or an ensuite bathroom. When transitioning from laminate to carpet, tile, or another wood floor, planning your threshold transition strips for small room flooring is vital.
Accurate flooring transition measurement between small spaces prevents uneven steps and trip hazards. Because floating floors require independent expansion zones, you must never lay continuous laminate through a narrow doorway without a break. Each room needs its own perimeter expansion buffer, separated by a T-molding or reduction strip positioned directly underneath the closed door.
Types of Transitions to Consider:
- T-Molding: Ideal for joining two floors of equal height in a doorway.
- Reducer Strips: Used when bridging the gap between your new laminate and a lower floor surface, such as thin vinyl or low-pile carpet.
- Threshold/End Caps: Perfect for terminating flooring against sliding glass doors, exterior thresholds, or vertical fireplace hearths.

5. Checking Subfloor Flatness and Surface Preparation
No matter how carefully you measure your room dimensions, your laminate installation will fail if the subfloor underneath is uneven. In small rooms, subfloor dips and humps are magnified because planks have rigid locking mechanisms. If a plank bridges a low spot, stepping on it will cause a spongy, bouncy feel and place excessive stress on the tongue-and-groove joints, eventually causing them to crack.
How to Check Subfloor Flatness
Grab a 6-foot or 10-foot long metal straightedge and sweep it across your subfloor in multiple directions. According to most manufacturer guidelines, any deviation greater than 3/16 inch (or 4.7mm) over a 10-foot span—or 1/8 inch over a 6-foot span—must be corrected.
- For Concrete Subfloors: Grind down high spots with a concrete grinder and fill low dips using a self-leveling cement compound.
- For Plywood/Wood Subfloors: Sand down high wood seams, screw down loose subfloor panels to eliminate squeaks, and use shims or specialized leveling compounds designed for wood subfloors.

Common Mistakes to Avoid in Small Room Laminate Installations
Even with the best intentions, DIYers frequently run into common pitfalls when working in confined areas. Avoid these mistakes to ensure your project goes off without a hitch:
- Skipping Acclimation: Laminate planks need to adjust to the temperature and humidity of your home. Leaving unopened boxes in the small room for 48 hours prior to installation prevents post-installation warping.
- Forgetting the Moisture Barrier: If you are installing laminate over a concrete subfloor (even on an upper floor), a polyethylene vapor barrier is mandatory to stop rising ground moisture from destroying the fiber core.
- Pounding Planks Directly: Never strike the tongue or groove of a laminate plank directly with a hammer. Always use a tapping block or pull bar to protect fragile locking edges.
- Ignoring Tight Layouts: Starting a row with a tiny scrap piece less than 12 inches long creates structurally weak joints. Plan your starter boards so every piece has adequate length.
Related FitMySpace Tools
Planning your room renovation requires accurate calculations for every surface. Utilize these free online calculators to streamline your project:
Frequently Asked Questions (FAQ)
1. How much extra laminate flooring should I buy for a small room?
For standard rectangular small rooms, purchase an extra 10% to account for cuts and fitting waste. If your small room has diagonal walls, numerous alcoves, or complex angles, increase your buffer to 15% to avoid running short mid-installation.
2. Why is an expansion gap required for laminate flooring?
Laminate flooring expands and contracts with changes in ambient household temperature and relative humidity. Leaving a 1/4-inch to 3/8-inch gap around all permanent walls and objects gives the floor room to breathe, preventing unsightly buckling, bowing, or peaking.
3. How do I measure door frames so my laminate fits underneath them?
Stack a sample underlayment and laminate plank together on the floor next to the door jamb. Use this combined height as your guide for an oscillating multi-tool or fine-tooth handsaw, cutting the base of the wood door casing horizontally so the new floor slides underneath cleanly.
4. Do I need transition strips between a small bedroom and a hallway?
Yes. Because floating laminate floors expand and contract as a single connected unit, spanning a continuous run through narrow doorways without a break can cause the floor to bind and buckle. Use a T-molding or matching threshold strip in doorways to separate spaces.
5. Can I install laminate flooring over an uneven concrete subfloor?
You cannot install laminate over a subfloor with major dips or humps. Small rooms are especially sensitive to unevenness because rigid click-lock planks will flex over low spots, stressing the joints and causing hollow sounds or broken locking mechanisms. Level the subfloor before laying your underlayment.
6. How do I measure baseboards when calculating my final room fit?
Measure the thickness of your baseboards and quarter-round trim to ensure they are wider than your perimeter expansion gap. If your expansion gap is 3/8 inch, your baseboard trim must overlap the wall by more than 3/8 inch to completely conceal the gap.
Conclusion
Installing laminate flooring in a compact area is a deeply rewarding project that completely transforms the look and feel of your home. By taking precise measurements, accounting for necessary expansion gaps, expertly undercutting door jambs, and managing threshold transitions correctly, you ensure a durable, professional-grade finish. Take your time during the preparation phase, double-check your calculations, and enjoy your beautiful new space!
💬 Comments & Questions
Post a Comment